New
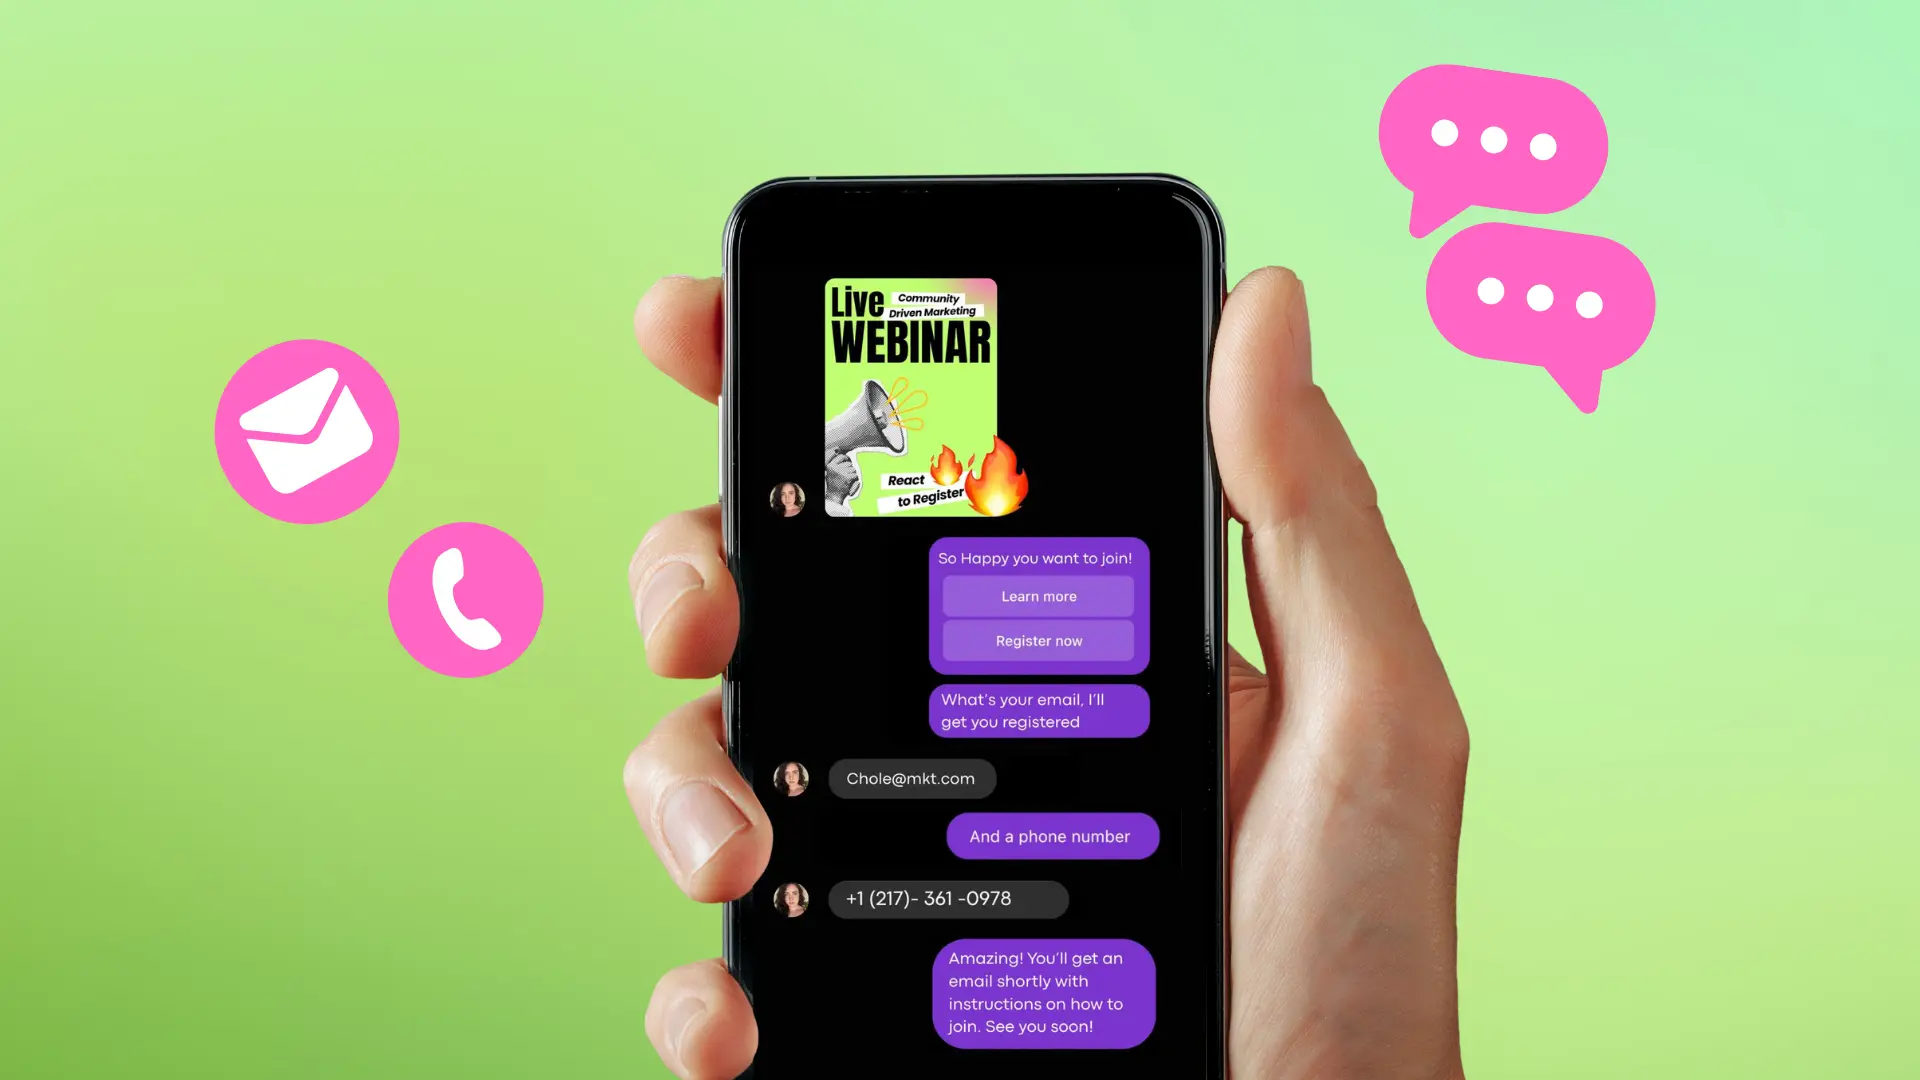
Turn Your DMs Into Lead Gen!
Learn how to collect lead data from your DMs such as email addresses, phone numbers, and more right from your social inbox. If you are not yet automating your DMs your competitors are outpacing you.

How Something Social Saved 75% of Their Time and Increased Revenue by 15%
See how a fast-growing agency improved operations, cut down hours of manual work, and unlocked new revenue opportunities with Vista Social.
New

50 Unique Social Media Ideas for Consistent Content Creation
Discover 50 unique social media post ideas to engage your audience, grow your brand, and maintain a consistent content strategy with ease!
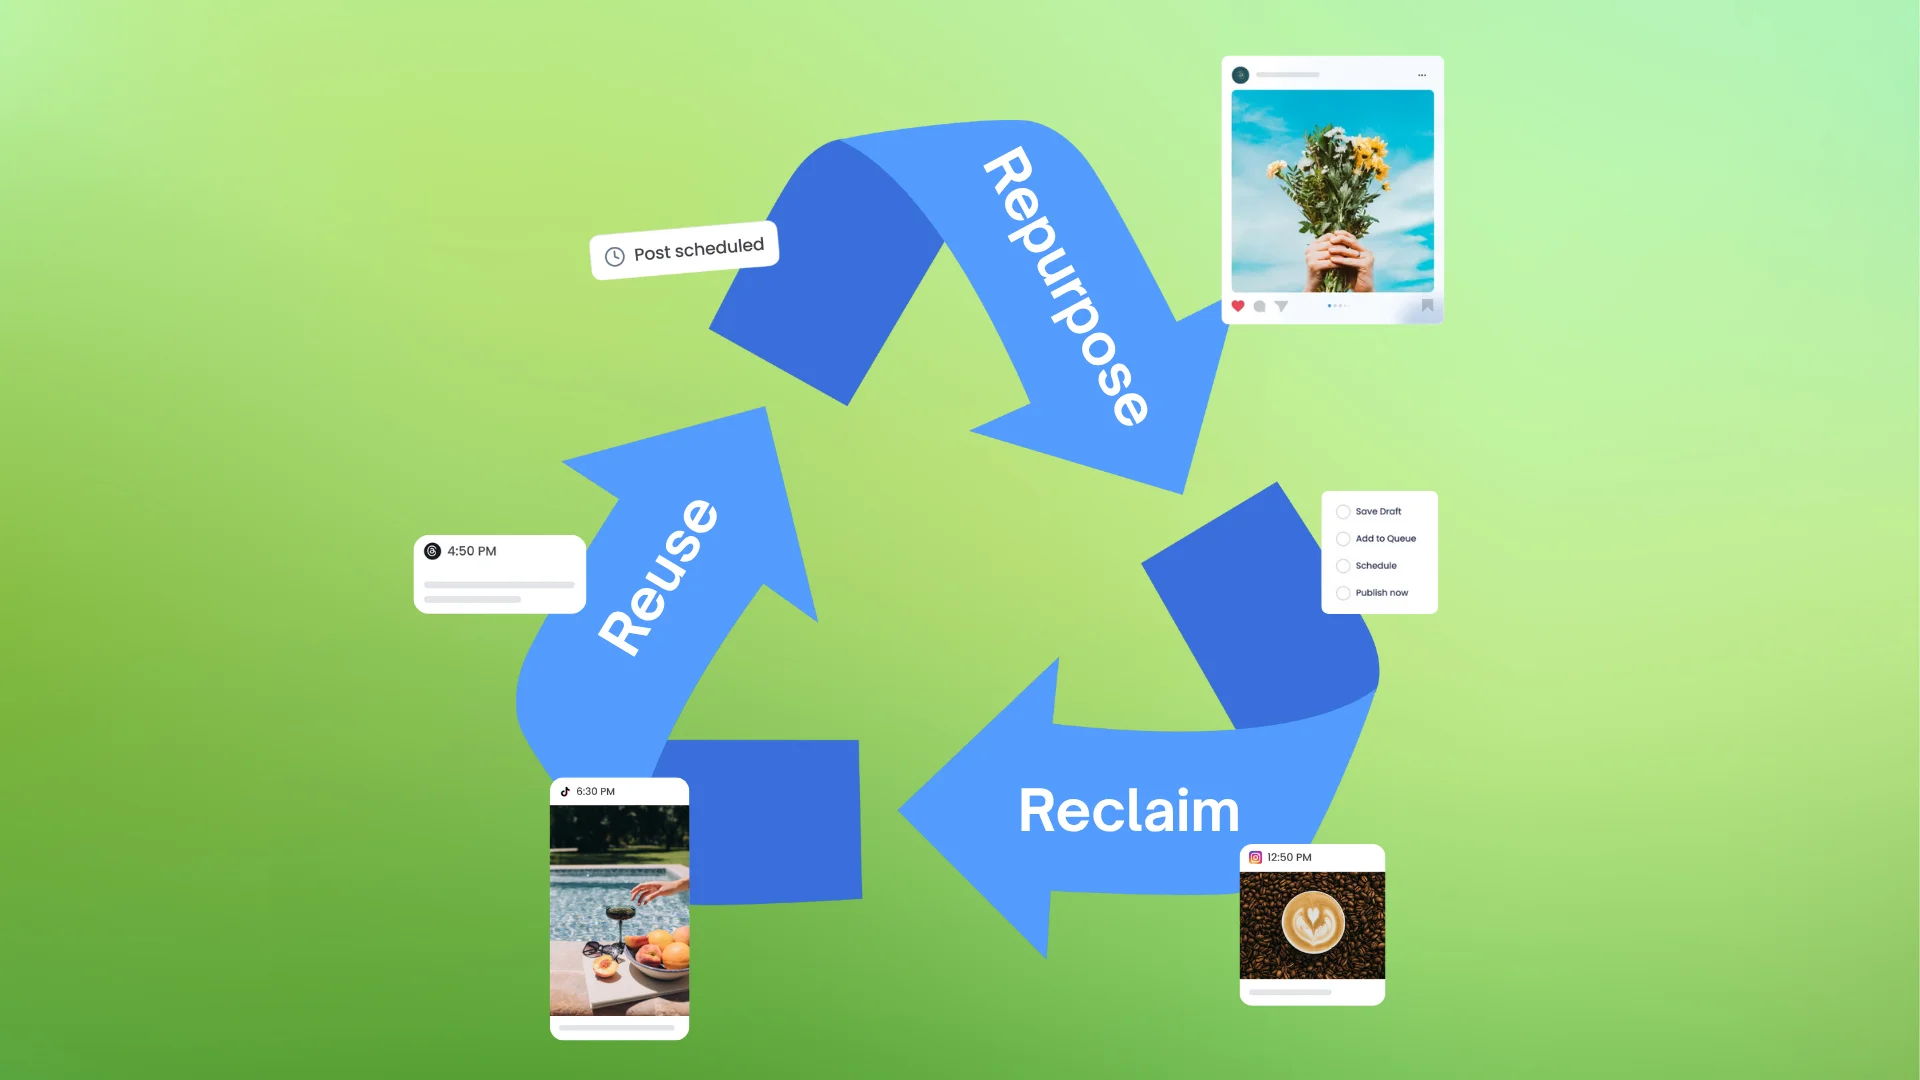
Mastering Content Reuse: The Key to a Consistent and Sustainable Posting Strategy
Published on July 4, 2024
3 min to read
Streamline Content Approvals: Vista Social’s Shared Calendar Guide
Summarize with AI

Summarize with AI
ChatGPT
Claude
Perplexity
Share
Vista Social
X (Twitter)
Table of contents
Summarize with AI
ChatGPT
Claude
Perplexity
Share
Vista Social
X (Twitter)
Transcript
Table of contents
Client Collaboration with Shared Calendar Approval
So you need clients or stakeholders to be able to collaborate, review, and approve posts without the hassle of teaching them a new tool or managing another set of usernames and passwords. This Vista Social shared calendar is the perfect match for you. It allows you to streamline your collaboration and content approval process, so you can get your posts in front of them in just a few clicks.
Set Up Profile Filters and Create Personalized Shared Calendar Links
Let’s start by going to our calendar and setting up our profile filters. I manage many clients and brands, but I want to ensure that only the relevant ones appear on the shared calendar. Once that’s done, let’s click on the share icon at the top right, then click on share.
Let’s hit create and name our calendar link here. This is a great way to add a touch of personalization for the brand or department you’re sharing this with. For example, I’ll name mine “The Cozy Clutter”.
Customize Calendar Settings
You’ll find many settings to customize. For example, if you’re in Europe but your collaborator is in Australia, you’ll want to set up the time zone properly. You may also consider the post statuses. For example, I only want them to see the posts that are awaiting review, but not already published ones, to avoid cluttering their view.
You can also filter posts by specific team members, post labels, content types, queue labels, and whether to show boosted posts and also include those that were not scheduled from Vista Social. Now, to allow clients to approve or reject posts as well as leave comments on them, ensure you turn on the approval and external comment switches.
Configure Post Visibility
Before we head further, keep in mind that the option for your posts must have the shared calendar option selected. As it is set, if you want to learn more, check out the resource in the description.
Okay, so let’s set a start date for the first post to appear on the calendar. For instance, I’ll start with July 1st. Optionally, you can set an end date in cases where you’re not quite ready for them to see posts beyond a certain date. An expiration date can also be set for the link to stop working at a specific period.
By default, the link doesn’t have a password, meaning anyone with the link can access it. Once you share the link with your client or collaborator, they can view all posts matching your filters. For example, they’ll see posts from July 1st to July 15th, only from selected profiles, and only those in the “In Review” status.
Client Review Workflow
They can view posts in a list or accounts review showing different versions for each network, such as Facebook and Twitter. From there, they can approve or reject posts and add a note. For example, they reject this post and leave a note such as “Let’s swap that image”. If external comments are enabled, they can leave it by clicking on the comments bubble.
Now, we’ll ask for their name and email as a way to properly show you who left comments or approved the post. But to make this easy, we’ll only ask this once. All approved posts will be scheduled to go out on their set day and time, while rejections will be listed under “Rejected Posts” on your end.
You can view the post history, like the full log of rejections and approvals, and check the comments area for any notes. If you have any questions or need assistance setting up your shared calendar, don’t hesitate to reach out to our support team.
Next: AI Content Integration
Now, if you’re an avid ChatGPT user and wondering how you can integrate AI into your content creation process, then watch this next video. See you next time.
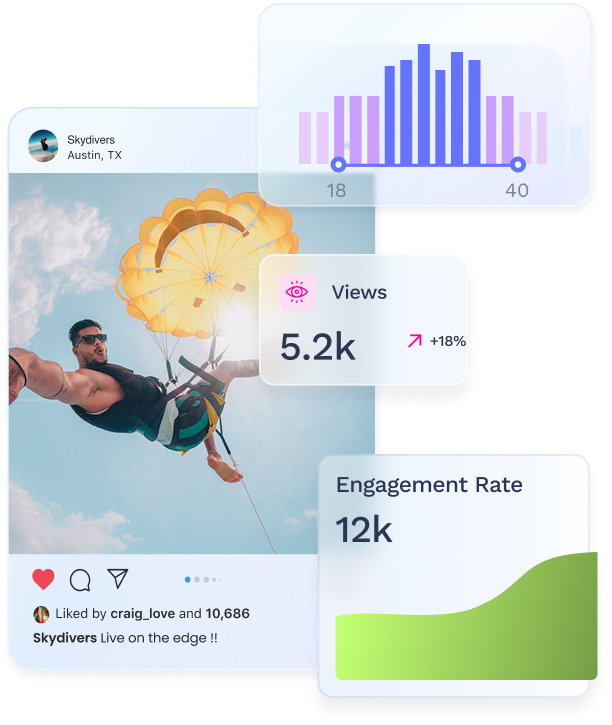
Try Vista Social for free
A social media management platform that actually helps you grow with easy-to-use content planning, scheduling, engagement and analytics tools.
Get Started NowAbout the Author
Content Writer
Read with AI
Save time reading this article using your favorite AI tool
Summarize with AI
Never Miss a Trend
Our newsletter is packed with the hottest posts and latest news in social media.

You have many things to do.
Let us help you with social media.
Use our free plan to build momentum for your social media presence.
Or skip ahead and try our paid plan to scale your social media efforts.
P.S. It will be a piece of cake 🍰 with Vista Social
Subscribe to our Newsletter!
To stay updated on the latest and greatest Social Media news. We promise not to spam you!
Enjoyed the Blog?
Hear More on Our Podcast!
Dive deeper into the conversation with industry insights & real stories.

